👨‍🎓
Today I Learned
  • Today-I-Learend
  • 🍎WWDC
    • Developer Tools
      • Testing in Xcode
    • UIKit
      • UIDiffableDataSource
        • [WWDC 19] Advances in UI Data Sources
      • [WWDC2019] Advances in CollectionView Layout
  • 자료구조
    • Heap 자료구조
  • Clean code
    • 네이밍
    • 주석과 포맷팅
    • 함수
    • 클래스
    • 에러 핸들링
    • 가독성 높이기
    • 객체지향
  • Network
    • RestAPI
  • Swift
    • DateType
    • ARC
    • Availablity
    • KeyPath
    • Network
    • Never타입
    • Result
    • Selector
    • 검증함수
    • 메타타입
    • 동시성 프로그래밍
    • 메모리 안전
    • 에러처리
    • 접근제어 (Access Control)
    • 제네릭
    • 주요 프로토콜
  • 알고리즘
    • 그래프
    • 기초 알고리즘
    • 누적합(Prefix)
    • 복잡도
    • 비트마스킹
  • 운영체제
    • 운영체제의 개요
    • 프로세스와 스레드
    • CPU 스케줄링
    • 프로세스 동기화
    • 교착상태
    • 07. 메모리
    • 08.가상 메모리
    • 입출력 장치
    • 파일 시스템
  • UIKit
    • UITableView xib으로 만들어보기
  • 🖊️정보 기록
    • 코코아팟 배포하는 방법
  • iOS Project
    • 채팅 앱 만들기
      • Trouble shooting
      • 1. 디자인
      • 2. AutoLayout
    • 날씨 조회 어플리케이션
      • Figma를 이용한 UI 설계
      • TableView 연결하기
      • Networking
    • MVC -> MVVM으로 구조 변경해보기
      • MVC
      • MVVM
    • OAuth Project
      • 로컬 호스트를 이용한 로그인 페이지 제작
      • Github의 OAuth App 설정
    • Rest API 프로젝트
      • UI설계 (with Figma)
      • Network Model
      • MVVM 구조 전환
  • 🕶️UIKit
    • Compositional Layout
Powered by GitBook
On this page
  1. UIKit

UITableView xib으로 만들어보기

PreviousUIKitNext코코아팟 배포하는 방법

Last updated 1 year ago

프로젝트를 하다가, 여러 화면에서 같은 TableView를 사용하게 되었다. 재사용 가능한 TableView Component를 사용해보자! (xib을 이용할 거지만, viewController를 이용할 수도 있다)

순서

  1. UIView 생성 - 재사용 할 TableView

  2. Nib 생성 - TableView에 register할 Cell

  3. TableView 코드 작성

  4. ViewController에서 UIView 호출하기


1단계) UIView 생성

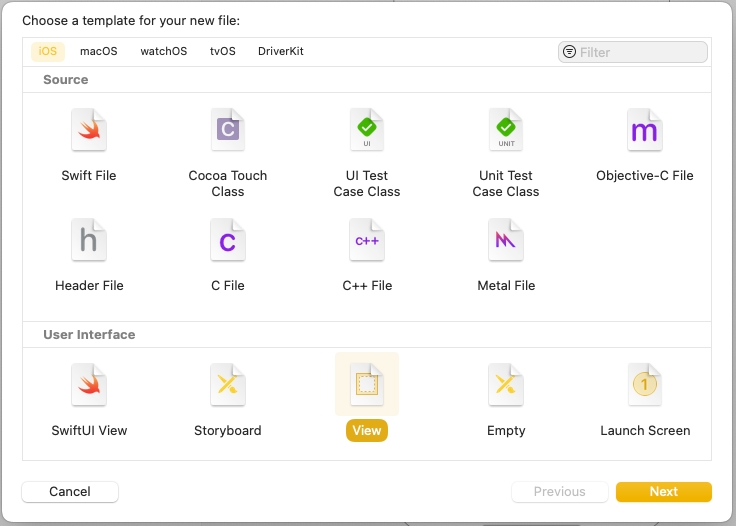
재사용할 TableView를 담아줄 UIView를 만들고, UIViewClass와 연결해준다.

1. UIView 선택하기
2. TableView 넣고, AutoLayout 잡아주기

UIView 안에 TableView constriant를 0, 0, 0, 0으로 잡아주었다. (safeArea 기준)
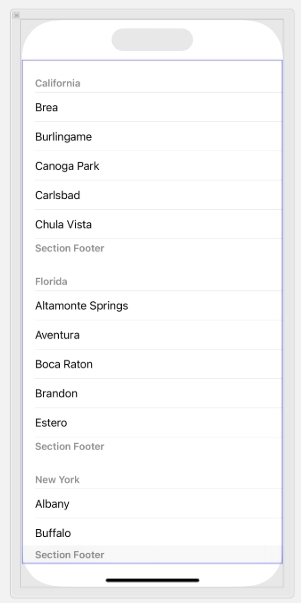
그럼 대충 이런 모양이 될 것이다.

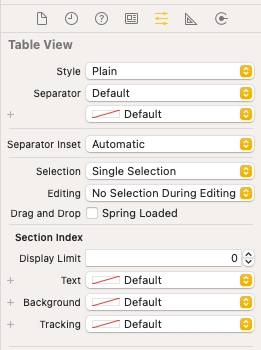
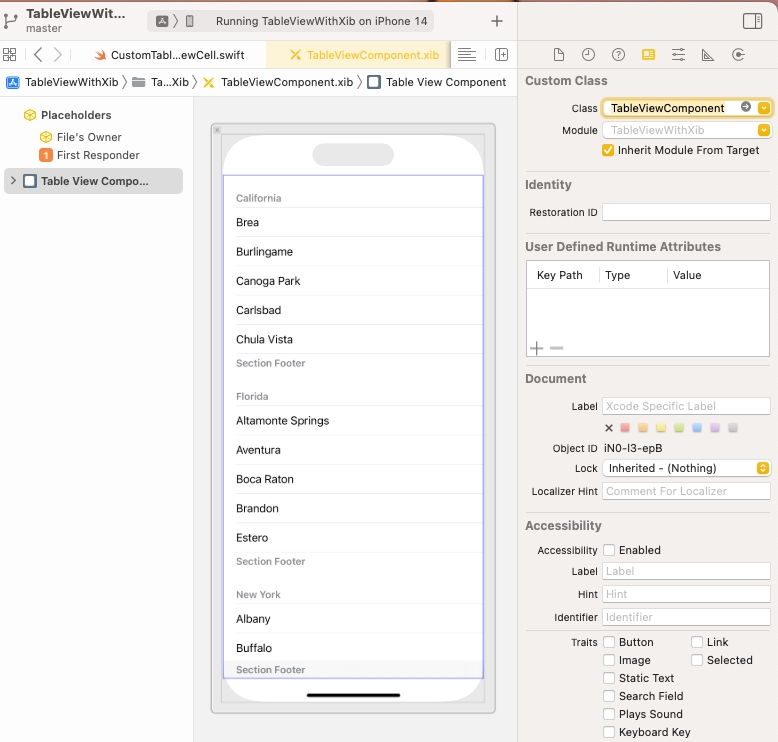
여기서 TableView를 선택하고, Attribute Inspector를 확인해보자.
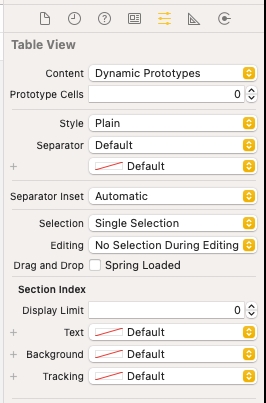
Storyboard 내부에 있는 Inspector
UIView 내부에 있는 Inspector

prototype cell을 등록할 수 있는 부분이 없다....!!! (복붙 하면 된다는데, 조금 더 찾아봐야겠다) 그렇기 떄문에 우리는 TableViewCell을 반드시 Nib 파일로 만들어줘야한다.

2단계) Nib 생성 - TableView에 register할 Cell 만들기

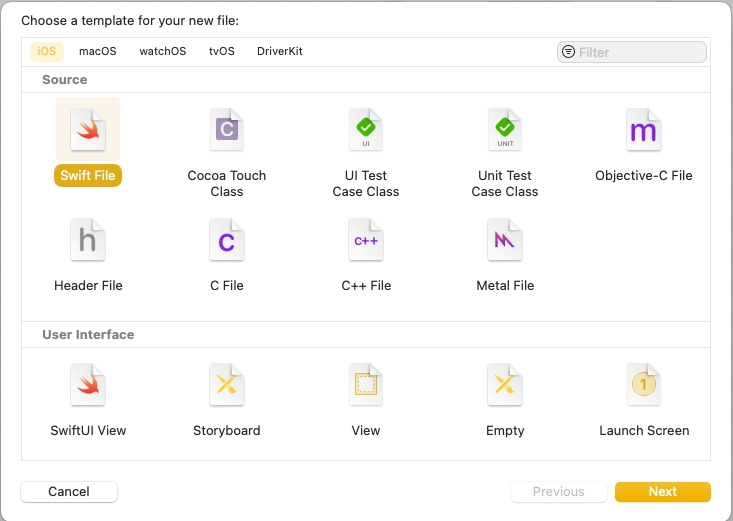
귀찮으니까 CocoaTouchClass에서 xib파일과 swift 파일을 한 번에 생성하자!

1. New File - CocoaTouch Class 클릭

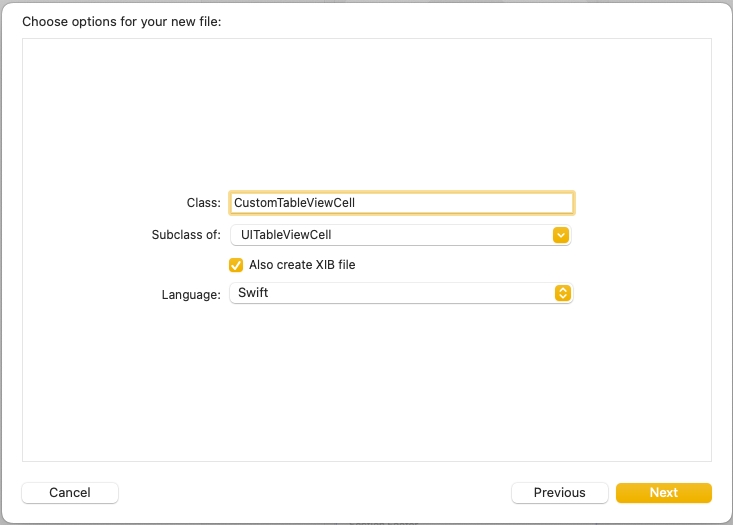
2. 속성 변경

3. Cell꾸하기

새로 만들어진 TableViewCell.xib 파일에 들어가서 UI를 만들어준다.

4. xib 파일과 .swift 파일 연결해주기

3단계) TableView 코드 작성

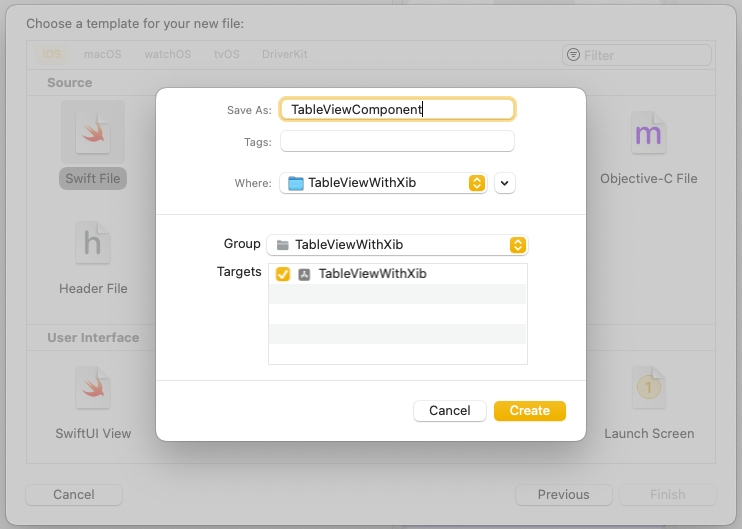
1. TableView Swift 파일 만들기

나는 TableViewComponent.swift라고 이름을 지었다. 이제 이 곳에서 공통으로 쓸 TableView에 대한 Delegate와 Datasource 코드를 작성해주자!

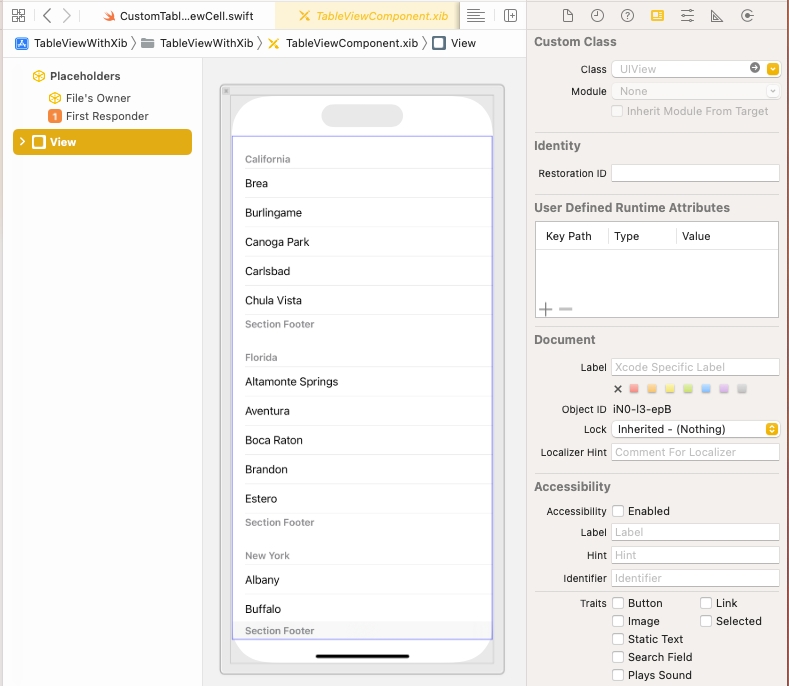
2. UIView.xib파일과 .swift 파일 연결하기

  1. UIView를 선택한다.

  1. Custom class에 만들어준 TableView.swift 파일을 연결한다. custom class를 연결하면, IBOutlet을 연결할 수 있다! (안 되면 Xcode를 껐다 켜거나, 코드로 작성한 후에 코드에서 UIView로 연결해주자)

  1. tableView를 IBOutlet으로 연결해준다.

2. TableView 코드 작성하기

이제 각자의 데이터와 셀 모양에 맞춰서 dataSource를 만들어주면 된다. 나는 Cell에 String 데이터만 넣을 것이기 때문에, data를 [String] 형태로 만들어줬다. 또한 외부에서 데이터를 주입한 후에 tableView를 새로고침해줘야하기 때문에 data는 private으로 설정하고, setData를 통해 데이터를 주입할 수 있도록 설정했다!

import UIKit

final class TableViewComponent: UIView {
    
    private var data: [String] = []
    @IBOutlet weak var tableView: UITableView!
    
    override init(frame: CGRect) {
        super.init(frame: frame)
    }
    
    required init?(coder: NSCoder) {
        super.init(coder: coder)
    }
    
    func setupTableView() {
        tableView.delegate = self
        tableView.dataSource = self
        tableView.register(UINib(nibName: CustomTableViewCell.id, bundle: .main), forCellReuseIdentifier: CustomTableViewCell.id)
    }
    
    /// view controller에서 data 주입
    func setData(with data: [String]) {
        self.data = data
        tableView.reloadData()
    }
}

extension TableViewComponent: UITableViewDataSource, UITableViewDelegate {
    func tableView(_ tableView: UITableView, numberOfRowsInSection section: Int) -> Int {
        data.count
    }
    
    func tableView(_ tableView: UITableView, cellForRowAt indexPath: IndexPath) -> UITableViewCell {
        guard let cell = tableView.dequeueReusableCell(withIdentifier: CustomTableViewCell.id, for: indexPath) as? CustomTableViewCell else {
            return UITableViewCell()
        }
        cell.titleLabel.text = data[indexPath.row]
        return cell
    }
}

4단계) ViewController에서 UIView 호출

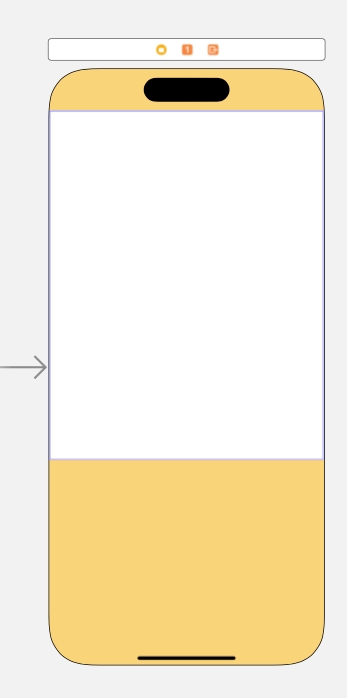
  1. UIView 만들기 Main.storyboard 등에 이동해서 tableview를 넣고 싶은 위치에 UIView를 넣어주자. 우리는 이걸 viewDidLoad에서 우리가 만들어준 TableView를 넣어 줄 것이다.

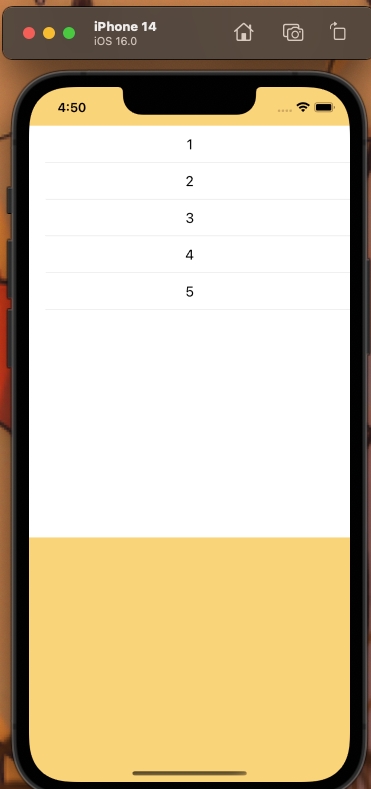
나는 background에 하얀색 배경을 깔아두었고, 하얀색 View에 내가 만든 TableView를 넣을 것이다.

  1. UIView에 custom view 주입

import UIKit

class ViewController: UIViewController {

    @IBOutlet weak var customView: TableViewComponent!
    
    private var data = ["1", "2", "3", "4", "5"]
    override func viewDidLoad() {
        super.viewDidLoad()
        
        setupCustomTableView()
    }
    
    private func setupCustomTableView() {
        guard let customTableView = Bundle.main.loadNibNamed("TableViewComponent", owner: nil)?.first as? TableViewComponent else { return }
        customTableView.frame = customView.bounds
        customTableView.setupTableView()
        customTableView.setData(with: data)
        customView.addSubview(customTableView)
    }
}

Sub class를 UITableViewCell로 바꿔주고, Also create XIB File을 선택해준다!
아까 Also create XIB file을 해줬기 때문에, 추가로 작업해줄 필요는 없다. 그냥 cell에 있는 요소들을 IBOutlet으로 연결만 해 주자!

1단계에서 만들었던 CustomTableView.UIView와 연결할 Swift class를 만들어준다.